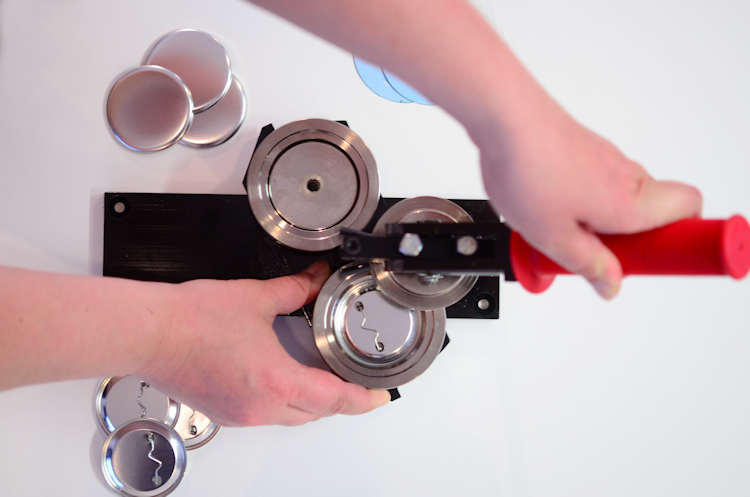

When you purchase a Buttonmaker from us, we provide a graphical instruction leaflet along with a complete user guide for operating the Buttonmaker. If you have lost the user guide, contact our sales team to get a digital download link for the instructions.
You can get more Buttonmaker components from our online shop. All components are sold in batches of 1000 pcs. Button components get counted by way of weighing, and there are always some extra inside the box. If you have a few parts left over, it's because there were extra for free.
A standard Buttonmaker machine works for standard paper only. You cannot make buttons with thicker photographic paper, fabric, adhesive stickers, or any other material from standard copying paper. The machine must be calibrated for a specific material for a Buttonmaker to operate correctly with thicker material. Specific materials can be configured for a custom-built Buttonmaker. The delivery time for such machine is from one to two months. However, you cannot make standard pinback buttons with a custom-built machine.
A pinback button machine should only be used to make buttons with standard copying paper. Paper thicknesses should be between 20-24lb writing paper or 70-90gsm.
You should never use a button-making machine to make buttons from fabric, adhesive stickers, or any material other than standard photocopying paper.
Our maintenance team can fix a button machine when it gets stuck, but so can you. Read the next section for instructions on how to unjam your button machine.
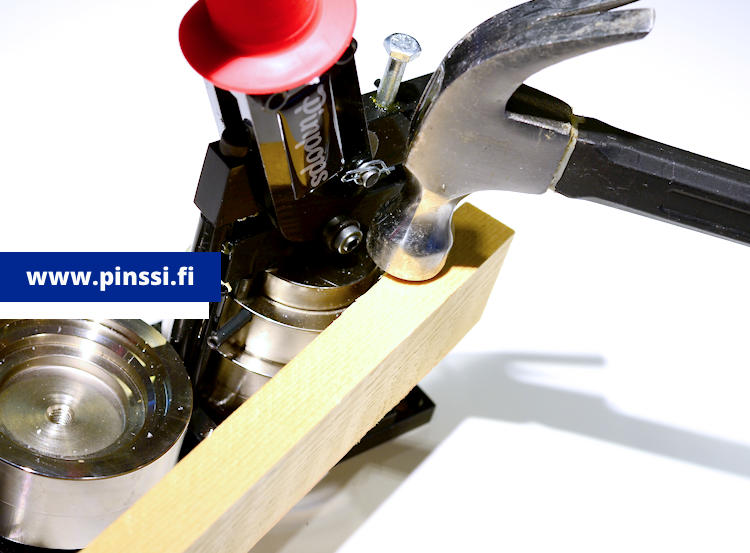
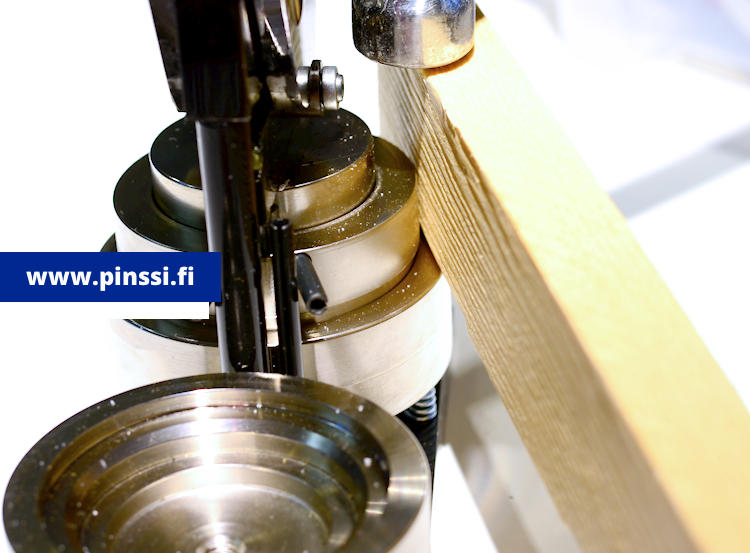
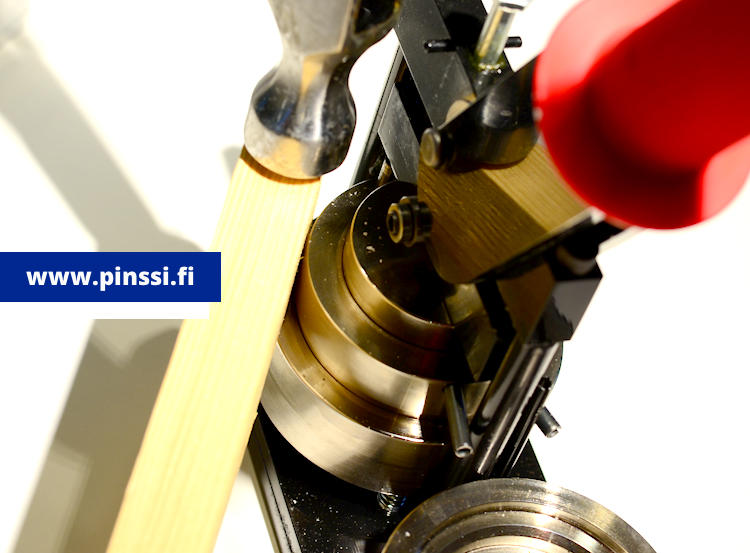
The most common reason for a machine to become stuck is that there is too much material inside the machine. It could be multiple metal shells, adhesive stickers, a paper that is too thick, one of many reasons. You can unjam the machine with a piece of wood and a hammer. Never directly hit the machine with a metal object, such as hammer.
Place the piece of wood on the lower half of the die set on top of the small ledge. Keep knocking the piece of wood on both sides of the machine evenly. After a few times, the lower die set should drop out of the machine. Whatever was causing the jam should be there inside the lower die set. Never hit the machine directly with the hammer to avoid warping the die sets, making the machine inoperable.
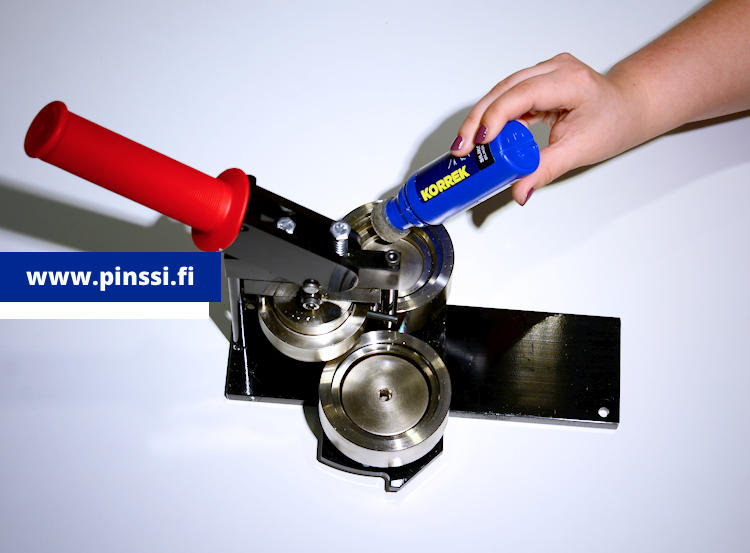
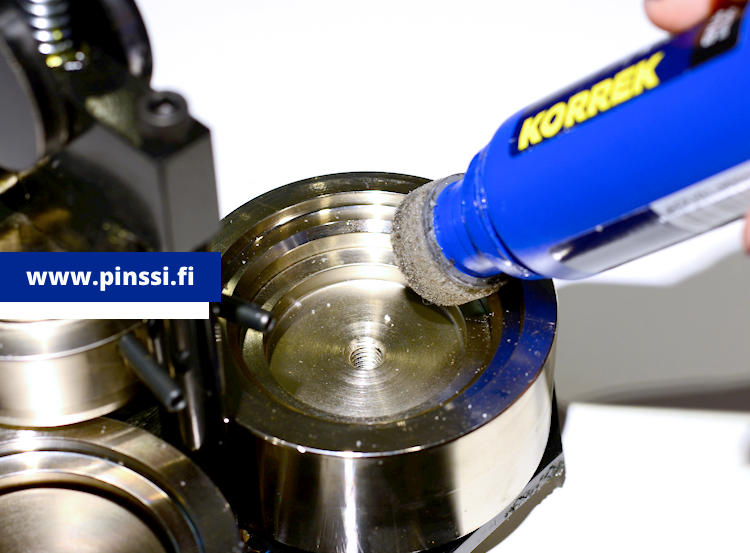
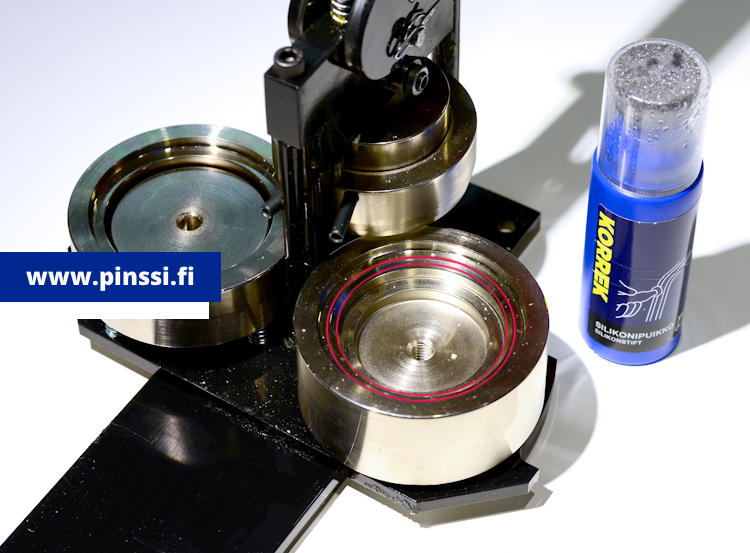
Sometimes there is a visible effect on a button where the clear mylar does not wrap tight around the button. You may see this by looking at the button from the front, with the plastic loosely around the sides, creating a halo effect. It is relatively easy to fix by applying silicone with a silicone stick to the lower die set of the machine. There is a 45-degree angle on the die set for the pinned back component. When you rub a little bit of silicone to this 45-degree rim, the halo effect should go away.
Need assistance?
Get in touch with customer servicePins24.com™ is honored to serve some of the finest companies in the world, from recognizable worldwide brands, to reputable local companies.